Microsoft MCSA-12 Print Server in Windows Server 2012
Login to your Windows server 2012 as an Administrator. When your log in is completed the Server Manager will be opened automatically, if it doesn’t open then you must open it manually.

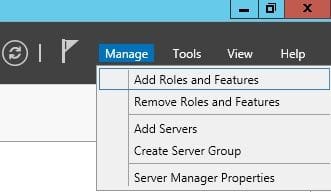
Now in the Server Manager click on the “Manage” button to open the “Add Roles and Features” to add the new feature.

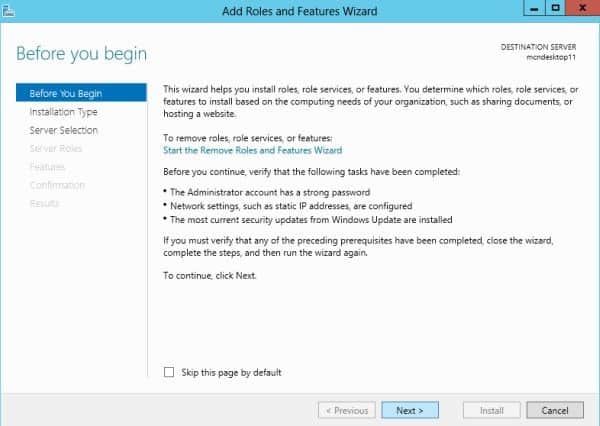
Now a new window will be opened in which a few instructions are given; click on “Next”.

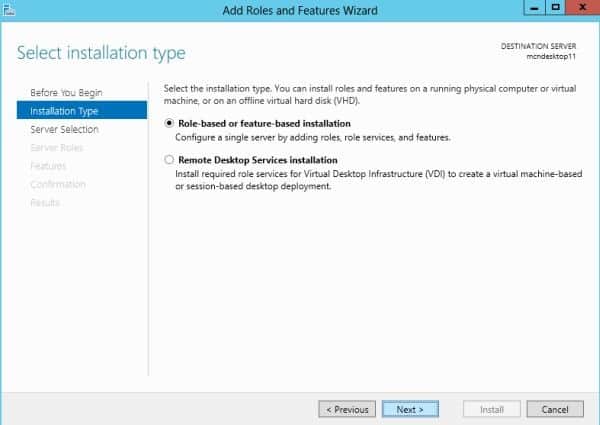
Now it will ask for the “Installation Type” from which you must select the first option and then click on “Next”.

Now you must select the server from the Server Pool. Since we have only one server in the Server Pool the server is selected by default.
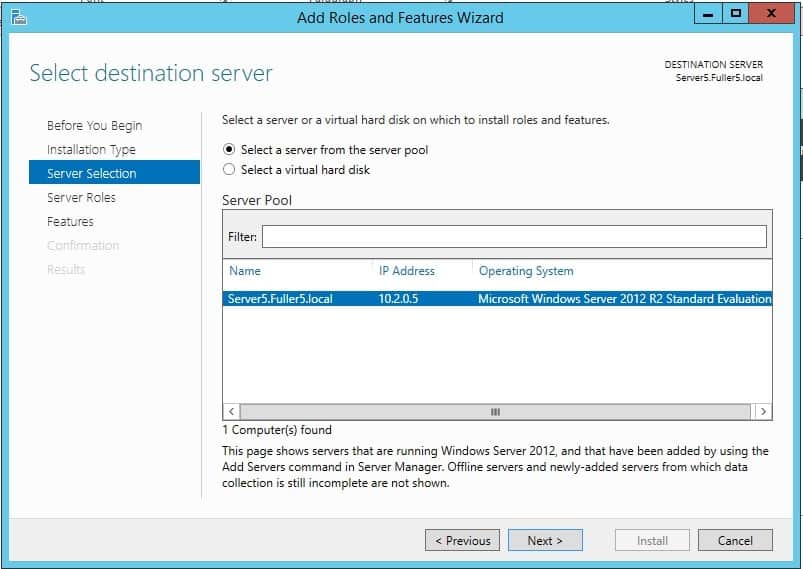

After selecting the server, click on “Next”. Now a List of Roles will appear in front of you, from this list you must select the “Print and Document Services”.

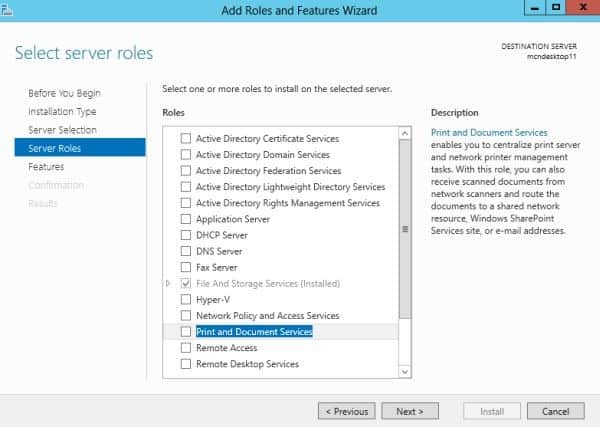
As you select the Print and Document Services a new window will be opened that will ask permission to “Add Features”. Click on “Add Features” to grant it the permission.
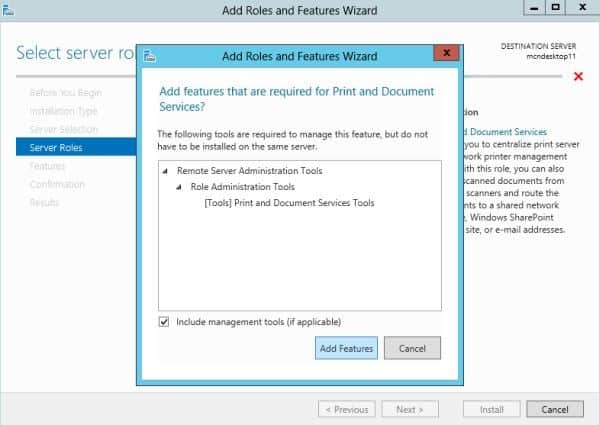

After selecting the Add Features option, you must click on the “Next” button.


A list of features will be available for selection, you can select any feature you want to install and then click on “Next”. Here simply click on “Next” without selecting any feature.

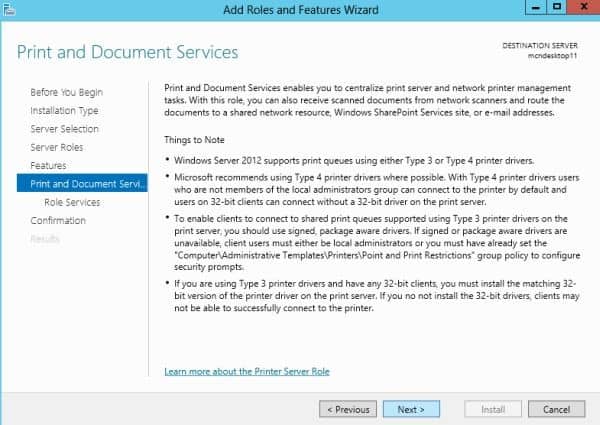
Some information will be shown to you about this service, here you must click on the “Next” button.
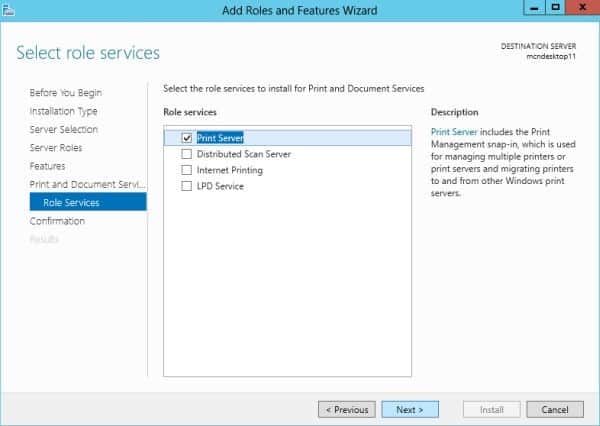

Select the “Role Services” page. Here you must select the first option i.e. “Print Server” and then click on “Next”.

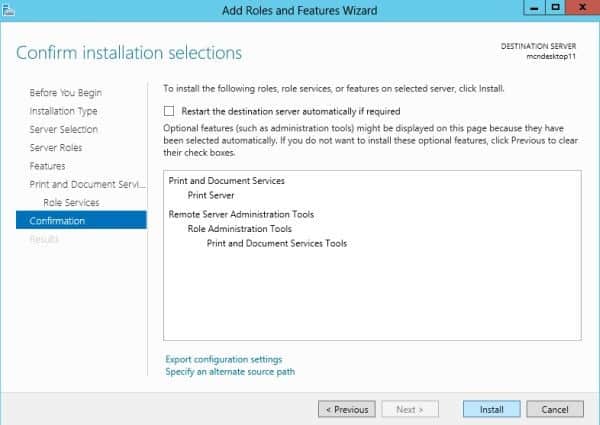
A confirmation page will be opened, where you can give permission to the server to restart if required or you can click on “Install” without giving permission to restart.
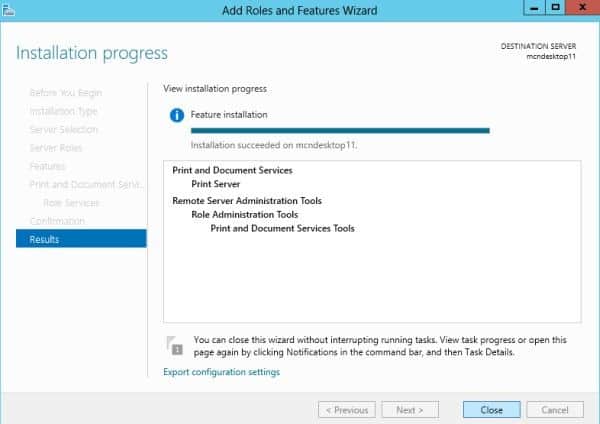

Your installation will begin.


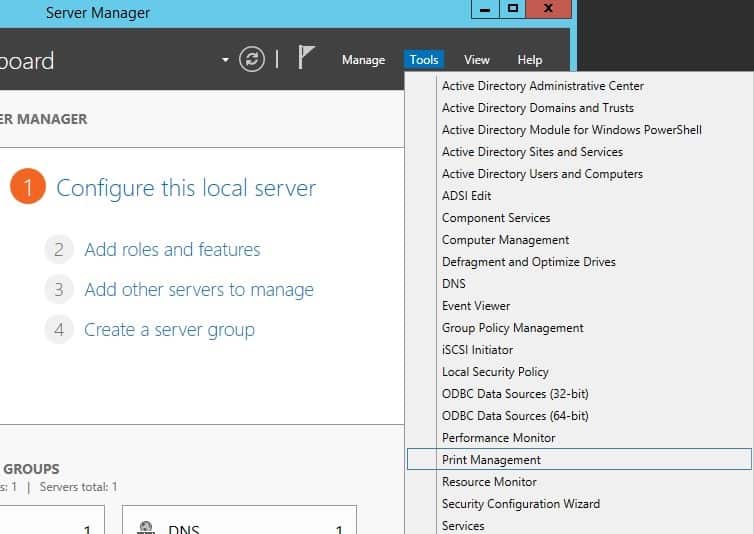
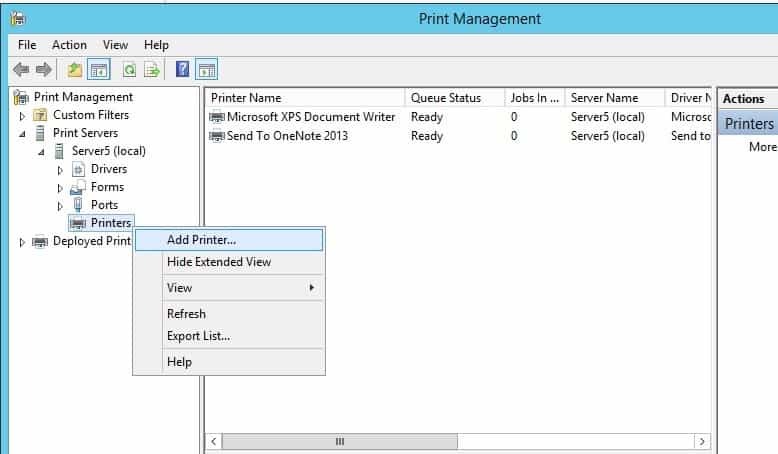
From the Server Manger select Tools and Print Management.

Select Printers from the local Print Server, right click and Add Printer…

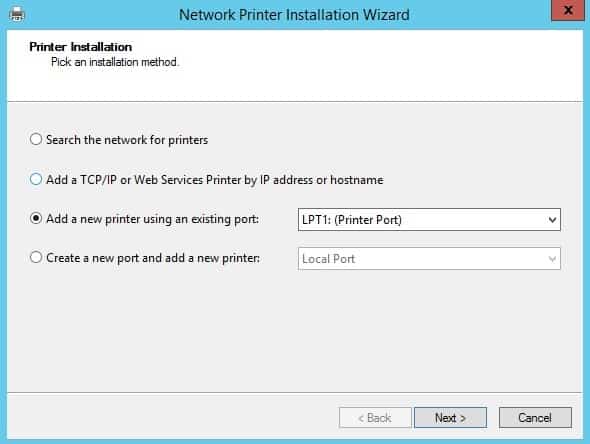
Here we have the option of connecting to a multiple of different printers, including network printers. Let us add a local printer. Select Add a new printer using an existing port: use the default LPT1 port. Select Next.

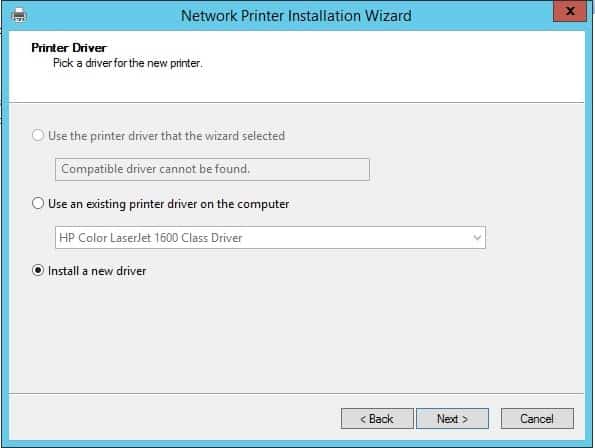
Select Install a new driver and click Next.

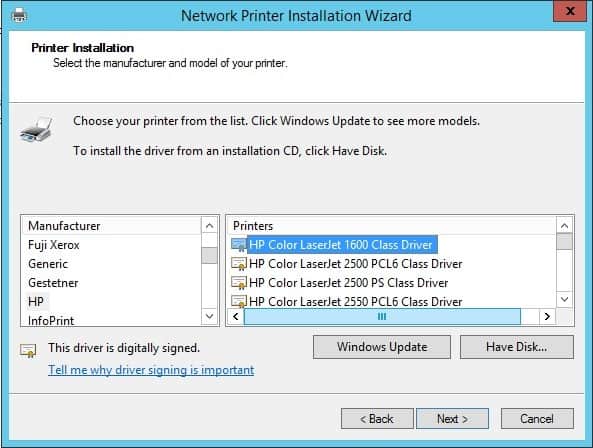
Select HP for the Manufacturer and HP Color LaserJet 1600 for the Printer model. Click Next.

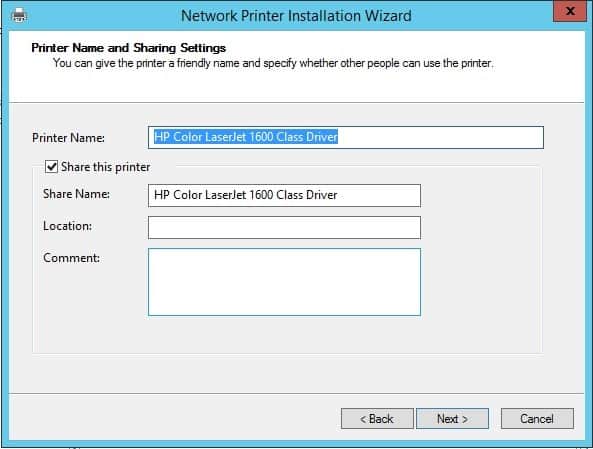
Keep the defaults and click Next.

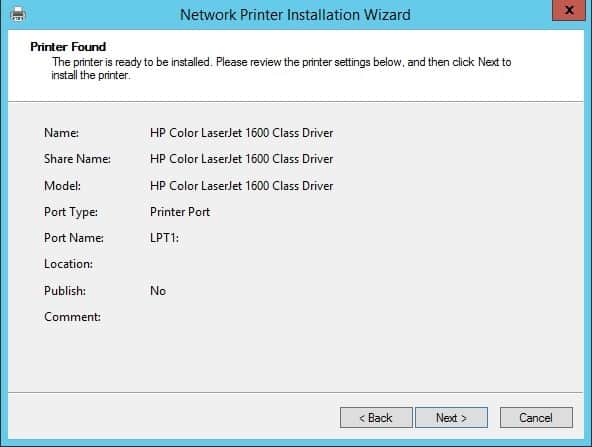
Review the summary and click Next.

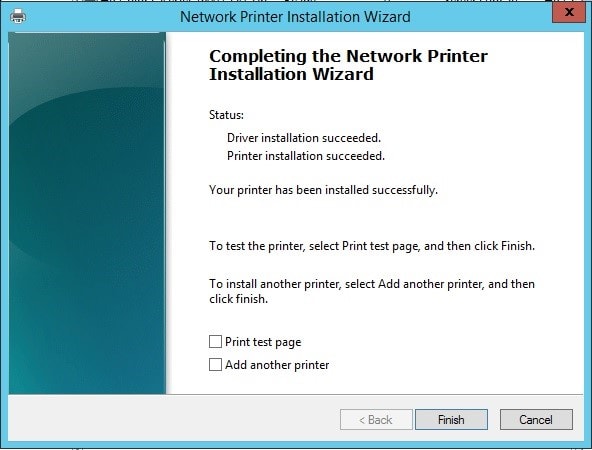
Finally, the driver has been added to the server and we can select Finish.

The Print Management is updated with the new printer.
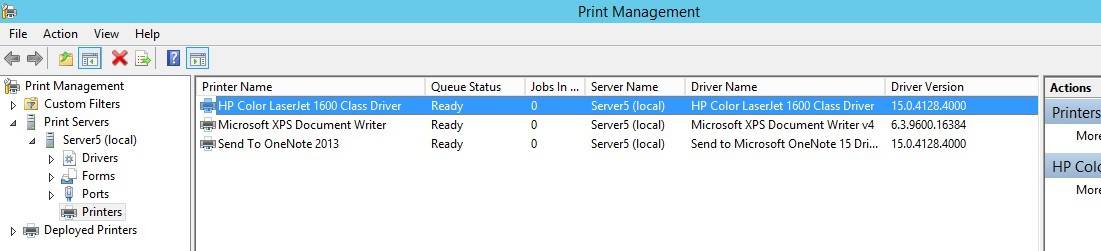

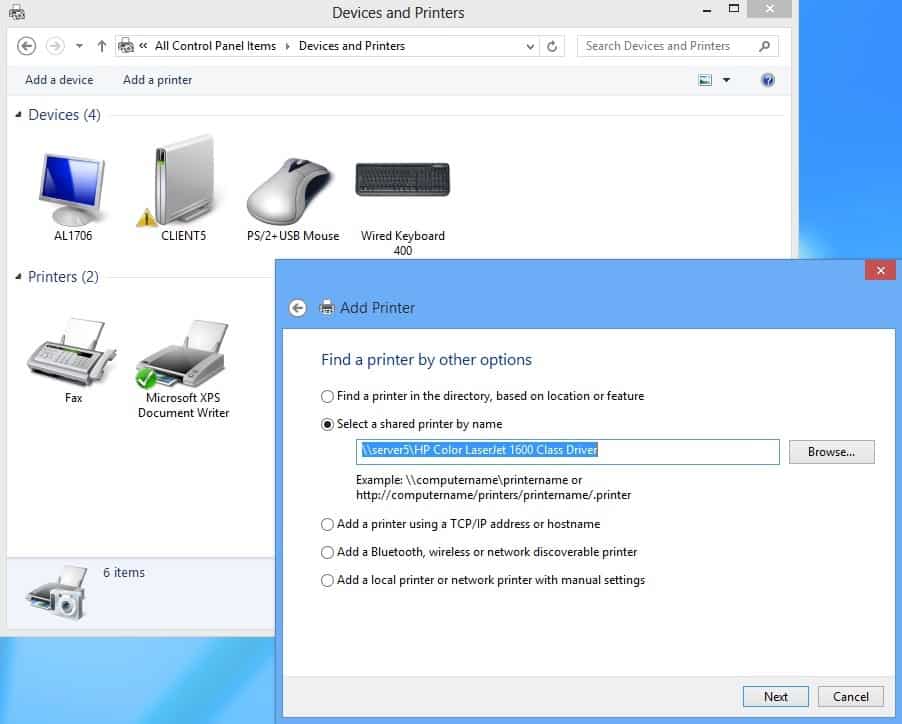
We can add several printers and manage all of them centrally from the server. Next we need to connect to the printer sever from our client computers.

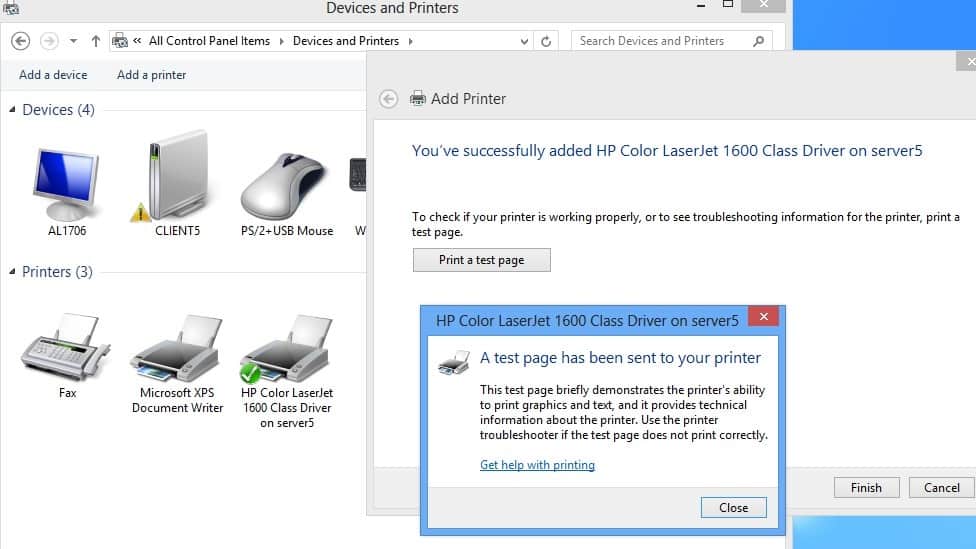
Select Next and Finish and click on Print a test page.

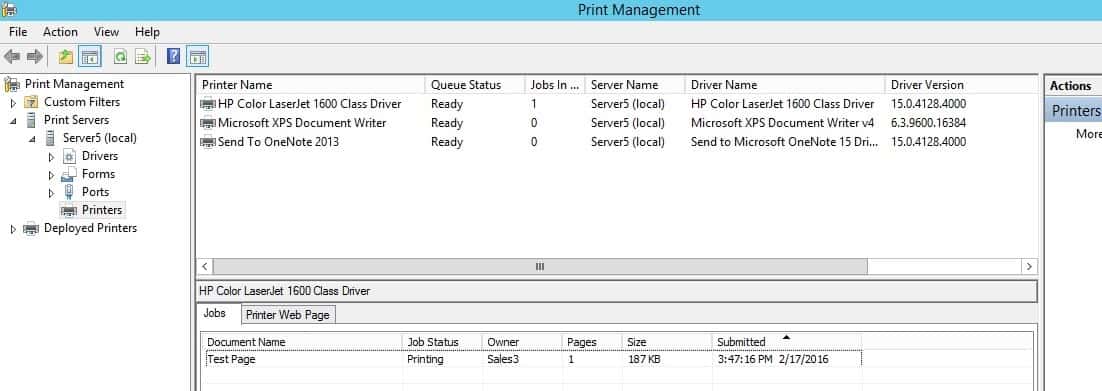
On the server we can see the print job.

To Become Microsoft Certified please Check out This Link;
Also published on Medium.
