

Open Server Manager.
Select AD DS to verify post installation.
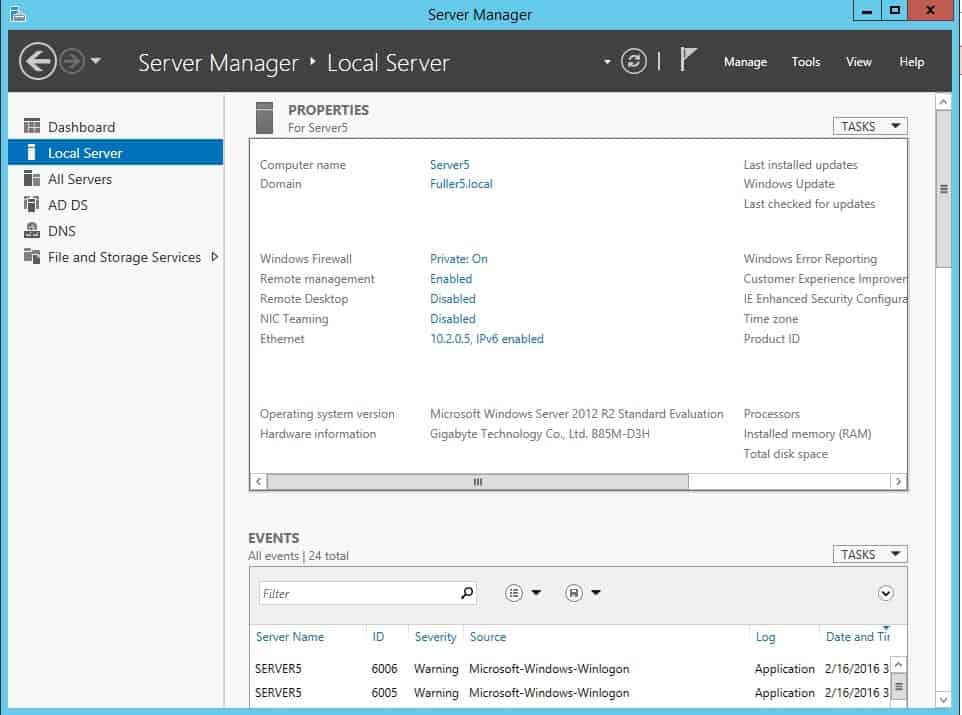
When you right click the server name you should see the AD tools, or select Tools from the top menu. For this lab we will be using the Active Directory Users and Computers.

Active Directory Users and Computers has the same look and feel as previous versions.

Creating Organizational Units (OU) and Adding Users
Once we have set up the Active Directory, we are ready to add users and computers to the ADDS. Recall that one of the main functions of Active Directory is to have a centralized location for managing all the resources.
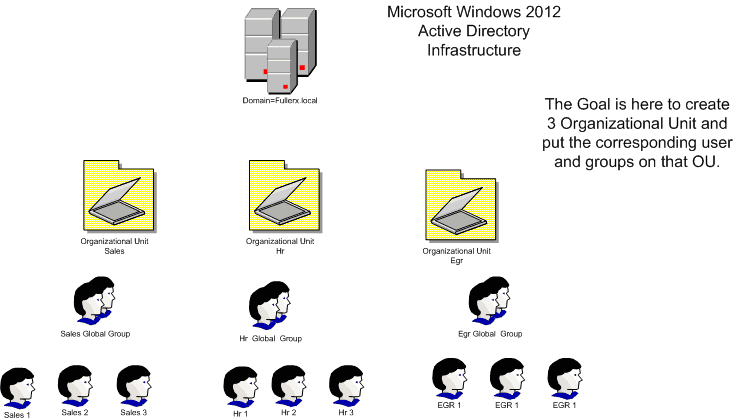
For the purpose of this lab, consider the following hypothetical scenario:
From the Server Manager, select Tools, then “Active Directory Users and Computers”.
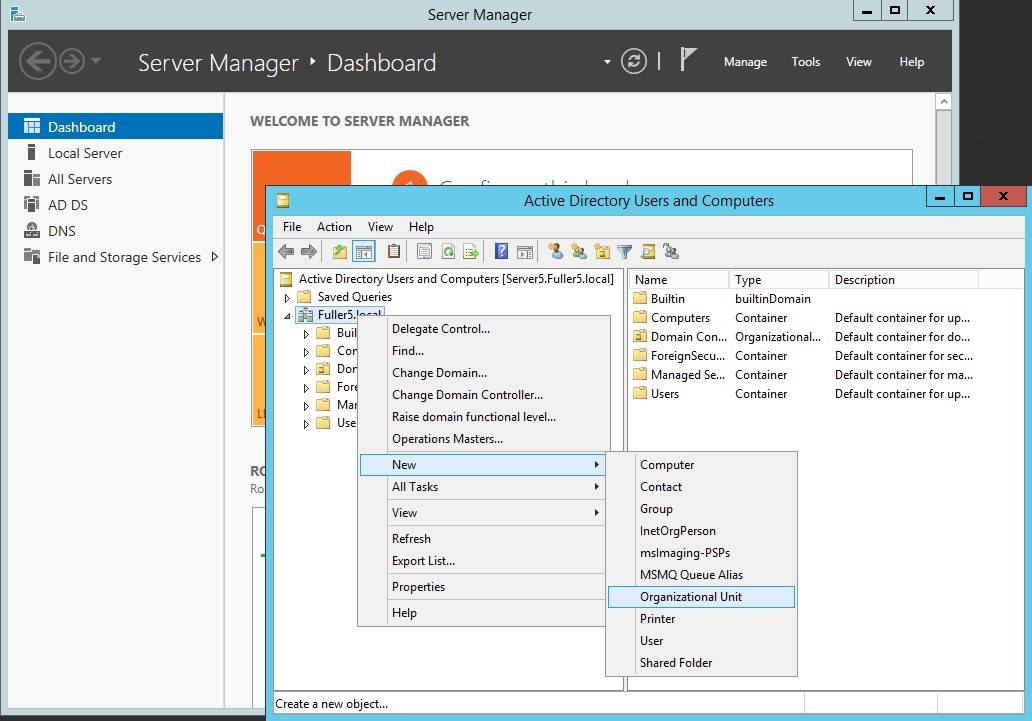
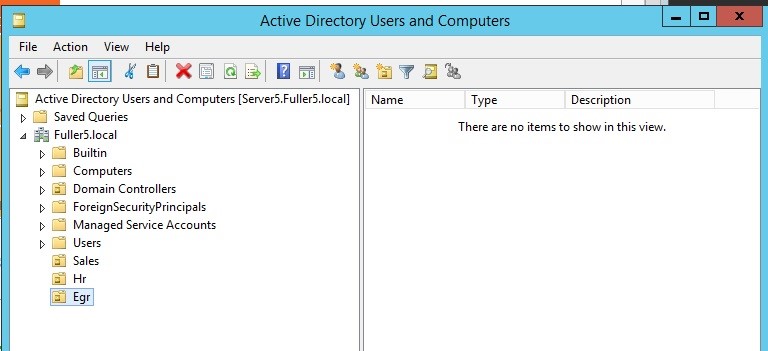
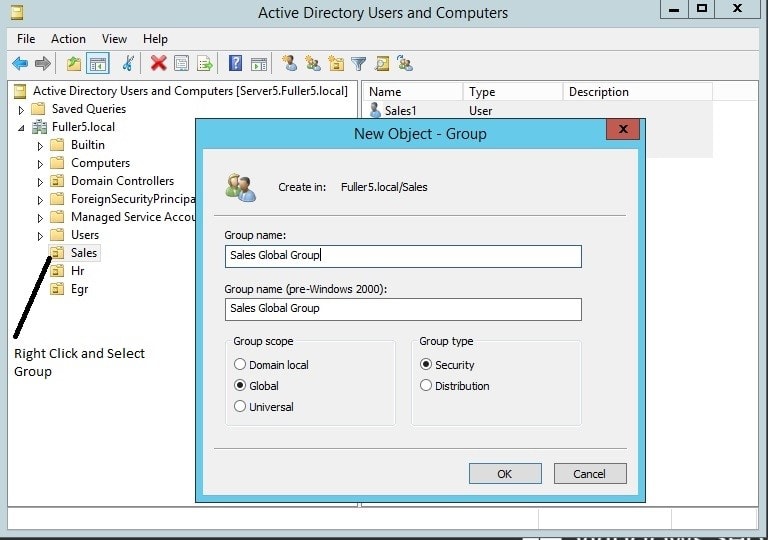
We will create three new OU’s named Sales, HR, EGR.
Right Click Sales OU and create users Sales1, Sales2, Sales3 with a password for all.

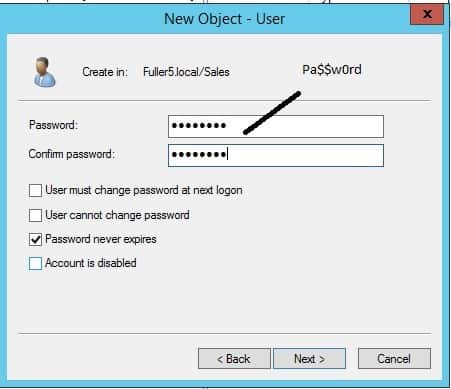
Complete the forms as per the requirement.
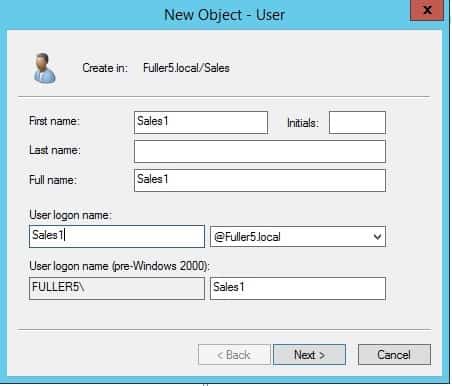
Select the desired password policy. For this lab, the password will never expire.
Repeat for the other Sales users (Sales2 and Sales3). The final result should look like:

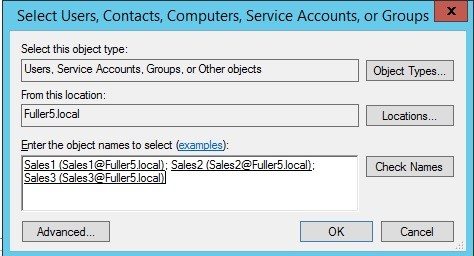
Next by right clicking the Sales OU, we will create a global group named “Sales Global Group” and add the users Sales1, Sales2, Sales3 to this new global group. From Server Manger add the user s to the Global Group.
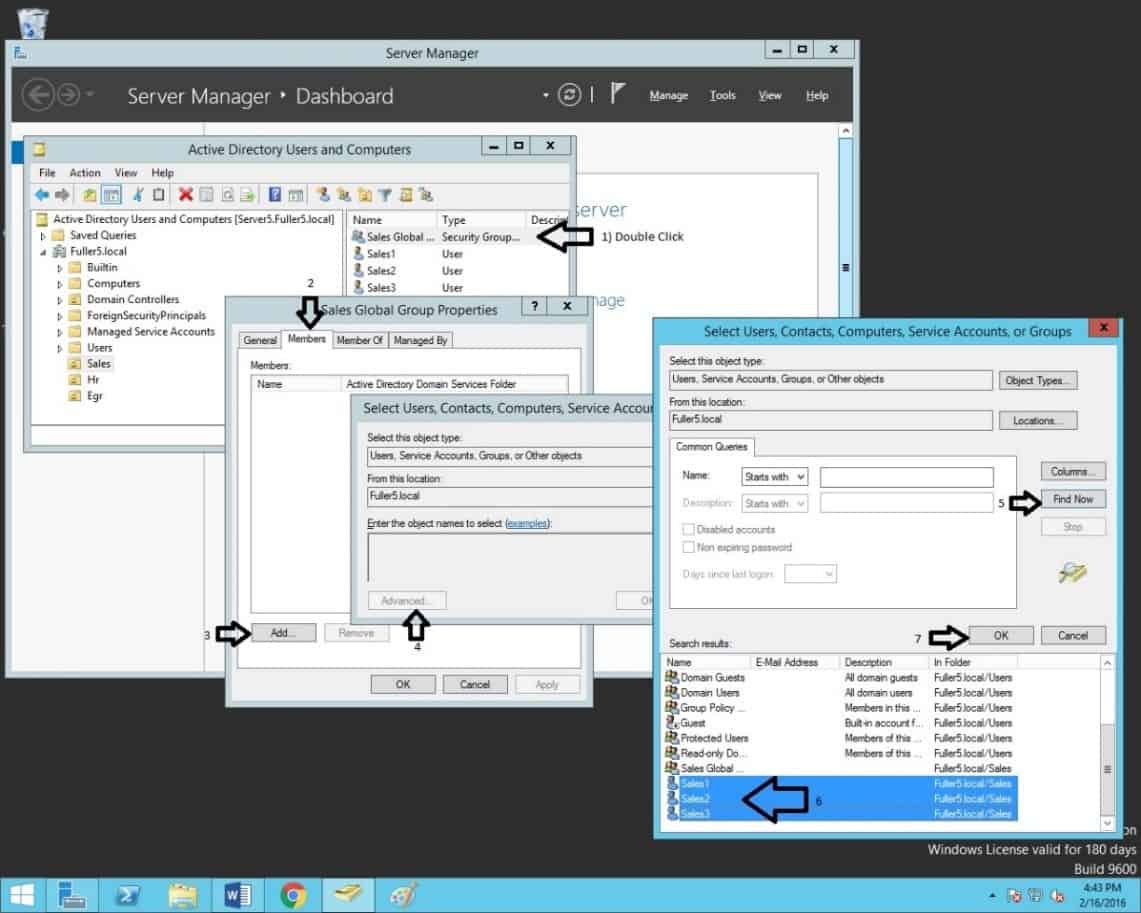
After selecting OK, we should see:
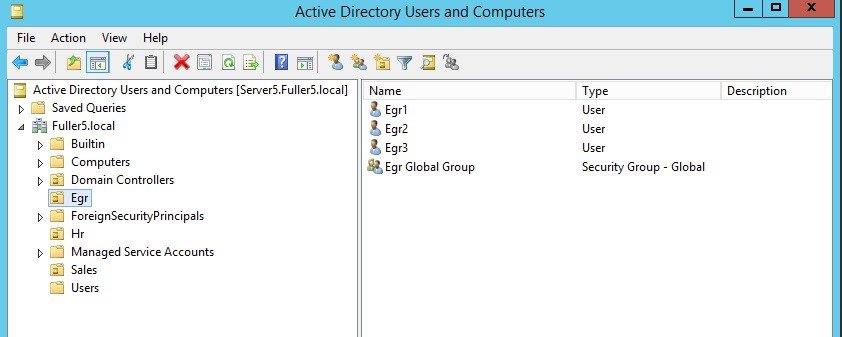
Note the user objects have been added. Select OK. The result should be:

Instead of apply policies to individual members, now we can apply one policy/permission to all the members, by applying it to the Global Group. We will see some examples further on. We will need to repeat the steps for the Hr users and Egr users. The final result should look as follows:
To Become Microsoft Certified please Check out the Link;
Also published on Medium.
