Here is a breakdown and explanation of Section 1.1 – Explain concepts related to the Open
Systems Interconnection (OSI) reference model from the CompTIA Network+ N10-009
exam, including real-world examples and key exam terms that can help students pass:
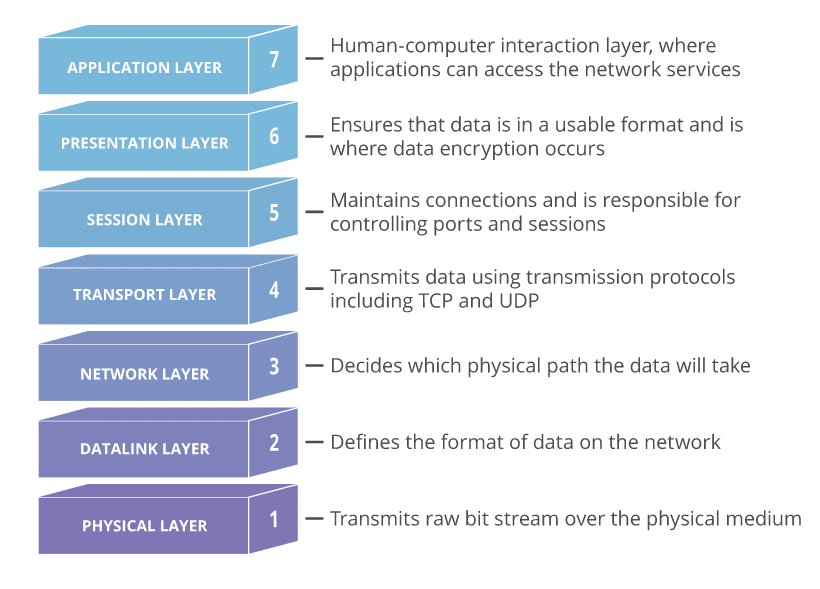
The 7 Layers of the OSI Model
The OSI (Open Systems Interconnection) model is a conceptual framework that standardizes how different networking systems communicate. It divides networking functions into seven distinct layers, each with its own responsibilities, technologies, and real-world examples. Understanding these layers is key for both troubleshooting and passing the CompTIA Network+ exam.
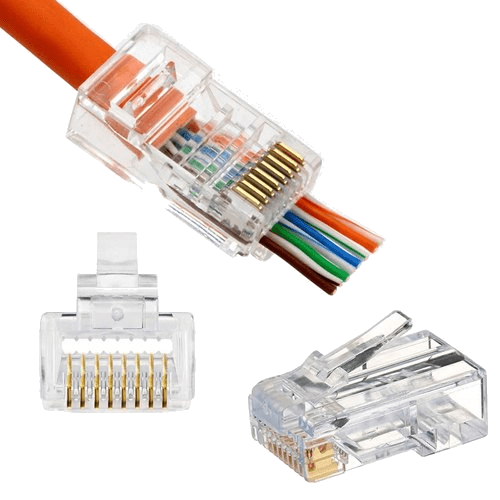
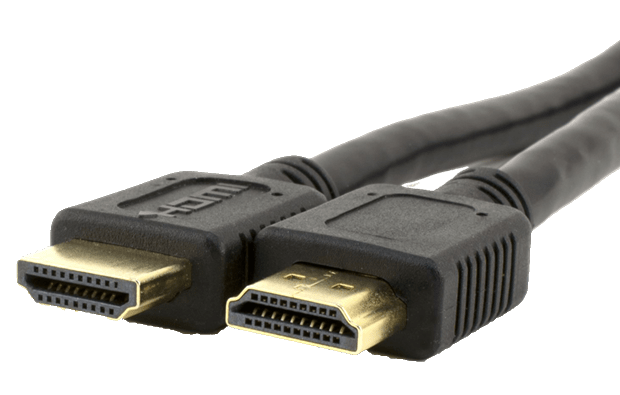
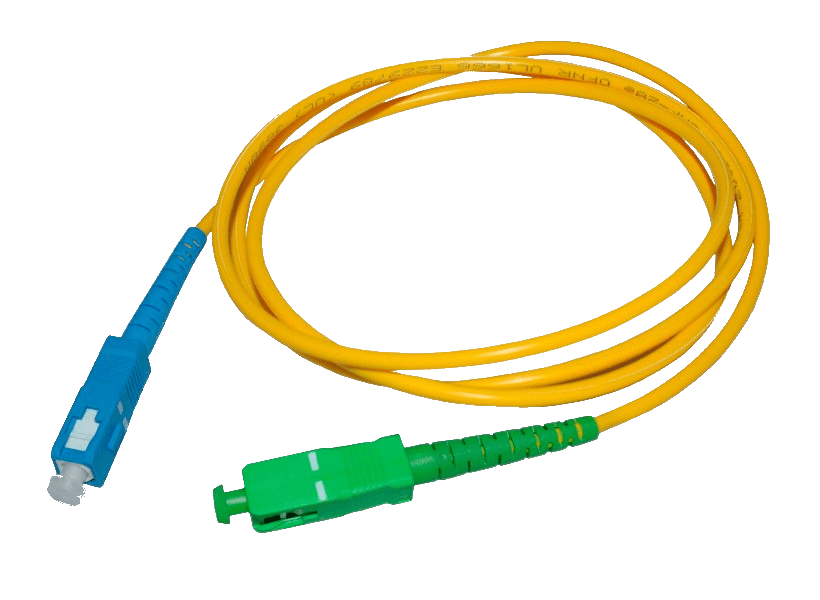
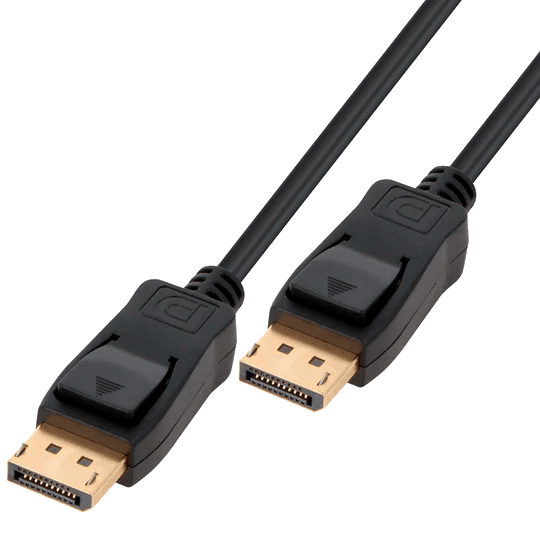
Layer 1: Physical Layer
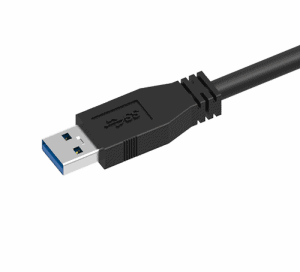
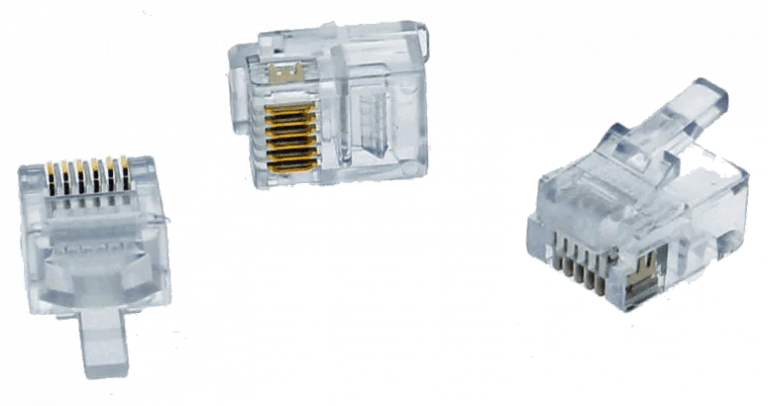
Function: Transmits raw bits over a physical medium.
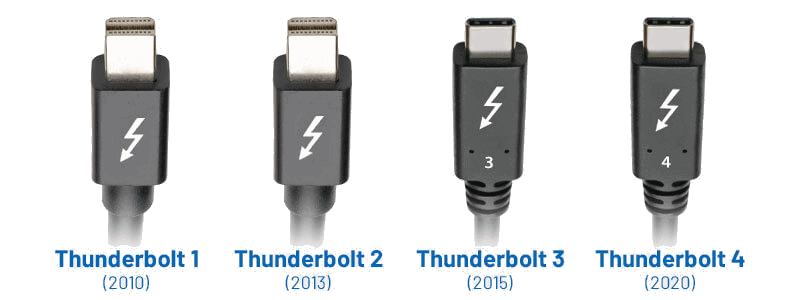
Examples: Ethernet cables (Cat5, Cat6), fiber optic cables, hubs, repeaters.
Scenario: A broken cable preventing connectivity is a Layer 1 issue.
Key Terms: Cable types (UTP, STP), signal degradation, attenuation.
Layer 2: Data Link Layer
Function: Responsible for node-to-node data transfer and error detection/correction.
Examples: MAC addresses, switches, Ethernet.
Scenario: Devices on the same LAN fail to communicate due to a switch misconfiguration.
Key Terms: MAC address, frame, ARP (Address Resolution Protocol).
Layer 3: Network Layer
Function: Handles logical addressing and routing of data across networks.
Examples: IP addressing, routers.
Scenario: Data not reaching another network points to a routing issue.
Key Terms: IP address, packet, ICMP (ping, traceroute).
Layer 4: Transport Layer
Function: Ensures reliable data transfer with flow control, segmentation, and error checking.
Examples: TCP (connection-oriented), UDP (connectionless).
Scenario: Slow or dropped connections may be due to transport-level problems.
Key Terms: TCP/UDP, port numbers, segments.
Layer 5: Session Layer
Function: Manages and maintains sessions between applications.
Examples: Session establishment and teardown, remote procedure calls (RPC).
Scenario: A user logging into a server creates and manages a session here.
Key Terms: Session ID, API session.
Layer 6: Presentation Layer
Function: Translates, encrypts, and compresses data for the application layer.
Examples: SSL/TLS encryption, JPEG, MP4, ASCII, EBCDIC.
Scenario: Encrypted files cannot be read without the correct key.
Key Terms: Data format conversion, TLS/SSL.
Layer 7: Application Layer
Function: Interfaces directly with the end user; supports network services and applications.
Examples: HTTP, FTP, DNS, email protocols (SMTP, IMAP).
Scenario: A user unable to access a website may be experiencing an application layer issue.
Key Terms: HTTP, FTP, DNS, SMTP, application services.
Mnemonic to Remember the Layers (Top to Bottom)
A helpful way to memorize the OSI model layers is to use this phrase:
“All People Seem To Need Data Processing”
Application
Presentation
Session
Transport
Network
Data Link
Physical
This mnemonic makes it easier to recall the order of the layers during exams and when troubleshooting real-world networking issues.
Most Common Exam Terms (CompTIA Network+ N10-009)
When studying the OSI model for the Network+ exam, certain terms appear more frequently and are essential to know.
Key Exam Terms to Remember:
OSI Model – The seven-layer framework for network communication.
TCP/UDP – Core transport protocols for reliable (TCP) and fast (UDP) data transfer.
IP Address – Logical addressing used at the Network Layer.
MAC Address – Physical address tied to hardware, used at the Data Link Layer.
Switch vs Router – Switches operate at Layer 2, while routers operate at Layer 3.
SSL/TLS – Protocols providing encryption and secure communications.
Port Numbers – Identify specific services and applications (e.g., port 80 for HTTP).
DNS, HTTP, FTP – Common Application Layer services.
ICMP – Used for diagnostic tools like ping and traceroute.
Start learning today and dive deeper into the details that matter most.
FAQ
1. What is the OSI model and why is it important?
The OSI model is a 7-layer framework that standardizes how networks communicate. Understanding it helps with troubleshooting, networking fundamentals, and passing the CompTIA Network+ exam.
2. How do the 7 layers differ?
Each layer has a unique function: Physical (hardware), Data Link (node-to-node transfer), Network (routing), Transport (reliability), Session (managing sessions), Presentation (data translation), and Application (user-facing services).
3. How can I remember the order of the OSI layers?
A popular mnemonic is: “All People Seem To Need Data Processing” – Application, Presentation, Session, Transport, Network, Data Link, Physical.
4. Which OSI layers are most relevant for troubleshooting?
Layers 1–3 (Physical, Data Link, Network) are commonly checked first for connectivity issues, while Layers 4–7 are used for performance and application-level troubleshooting.
5. Do I need hands-on practice to understand the OSI model?
Yes. Labs and simulations help you see how data flows through the layers, reinforcing concepts and preparing you for real-world networking tasks and exams.